
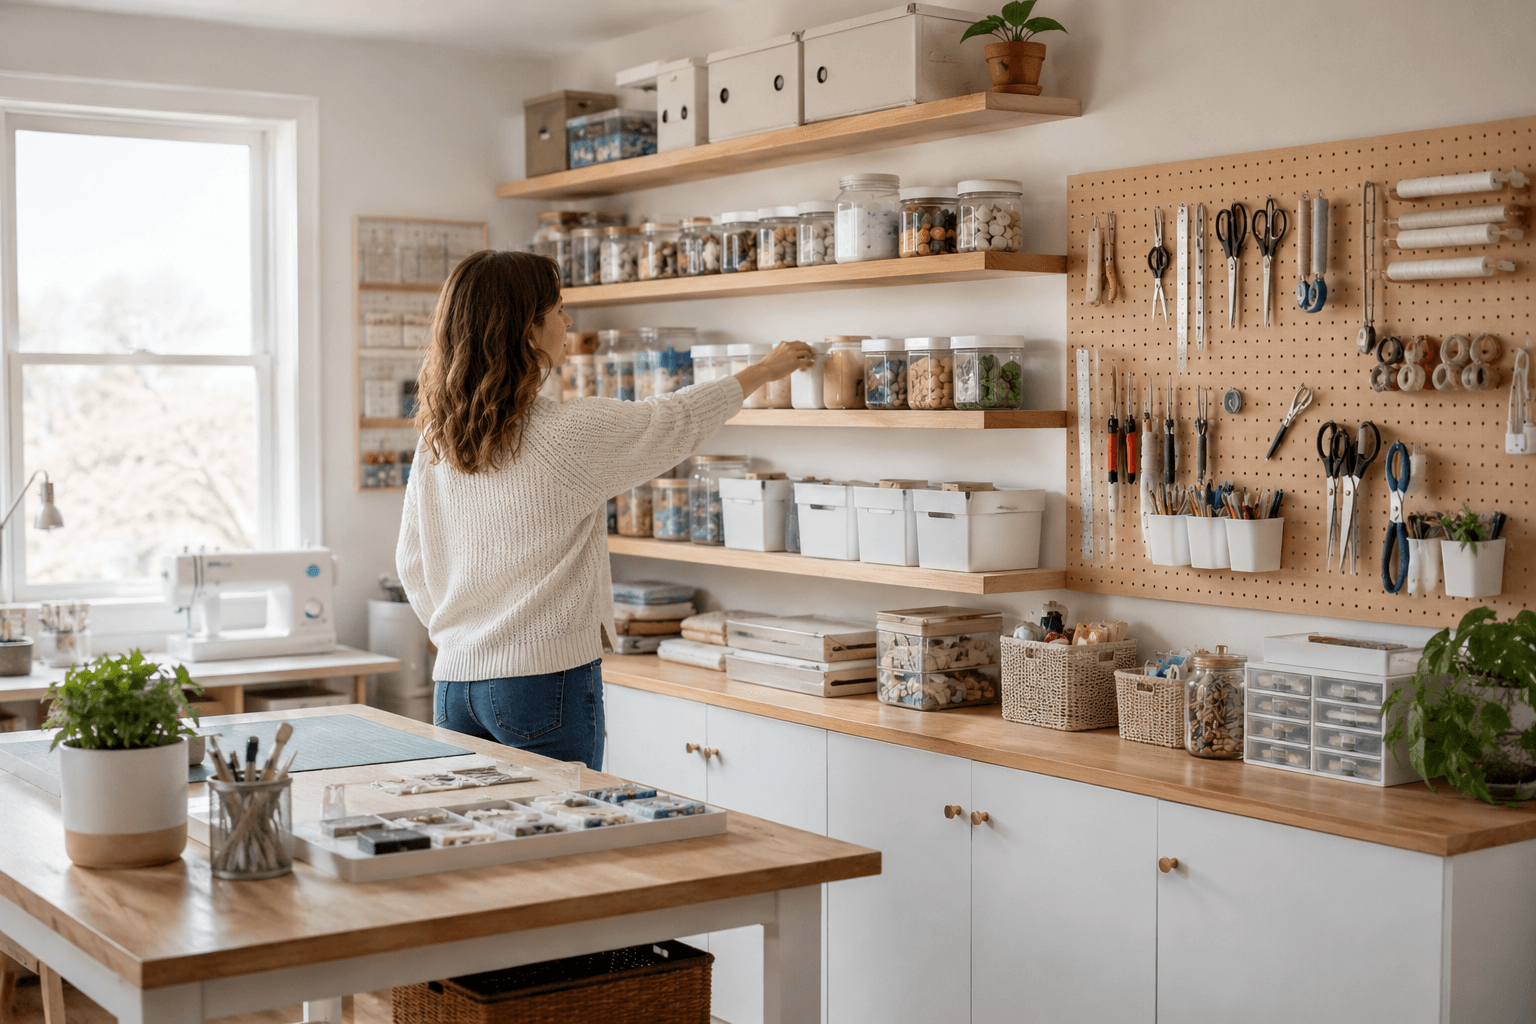
A lot of craft room shelving looks great in photos but isn’t made for everyday use. Many crafters end up with nice-looking shelves but sore shoulders from reaching up for supplies. The real issue is often height, reach, and weight.
This post shows what to look for before you install shelves and shares ideas that work in real craft rooms. These tips help with reaching supplies, handling heavy bins, organising small parts, and spending long hours at your table.
What to Check Before You Start
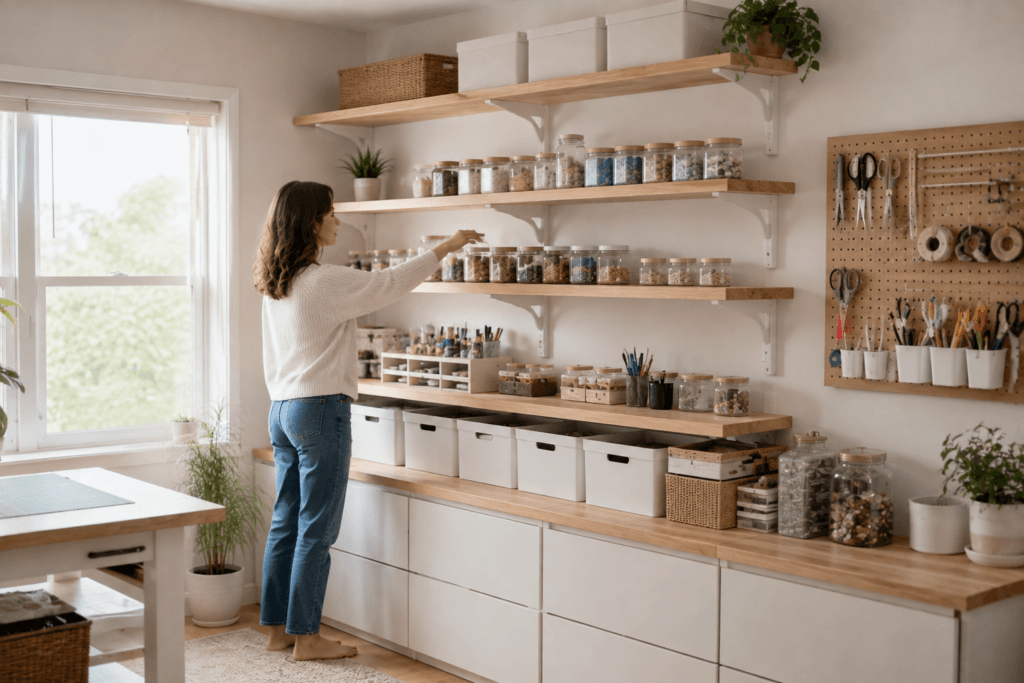
Before picking out shelves, figure out your main reach zones. For most adults, the easiest range is between hip and shoulder height, or about 30 to 55 inches from the floor. Store everyday items like scissors, glue, and project bins here, not on high shelves that make you stretch.
Reaching overhead over and over puts strain on your shoulders and can cause shoulder impingement, which is common for people who do detailed work at a table. If you often reach above shoulder height, your shelf is in the wrong spot, even if it looks nice.
Shelf depth matters as much as height. If a shelf for small supplies is deeper than 12 inches, you’ll end up pushing things to the back and leaning in to find them, which can strain your lower back if the shelf is low. Match shelf depth to what you store: use 8-10 inches for jars and small bins, 12-16 inches for bigger bins or fabric, and save deeper shelves for bulk storage you don’t need often.
Also, think about weight. Supplies like resin, paint, and glass jars are often heavier than they seem. Shelves made for light decorations might sag or break under heavy jars, so always check the weight limit before installing, especially if you’re using drywall.
Craft Room Shelving Ideas
1. Waist-to-Shoulder “Active Zone” Shelving
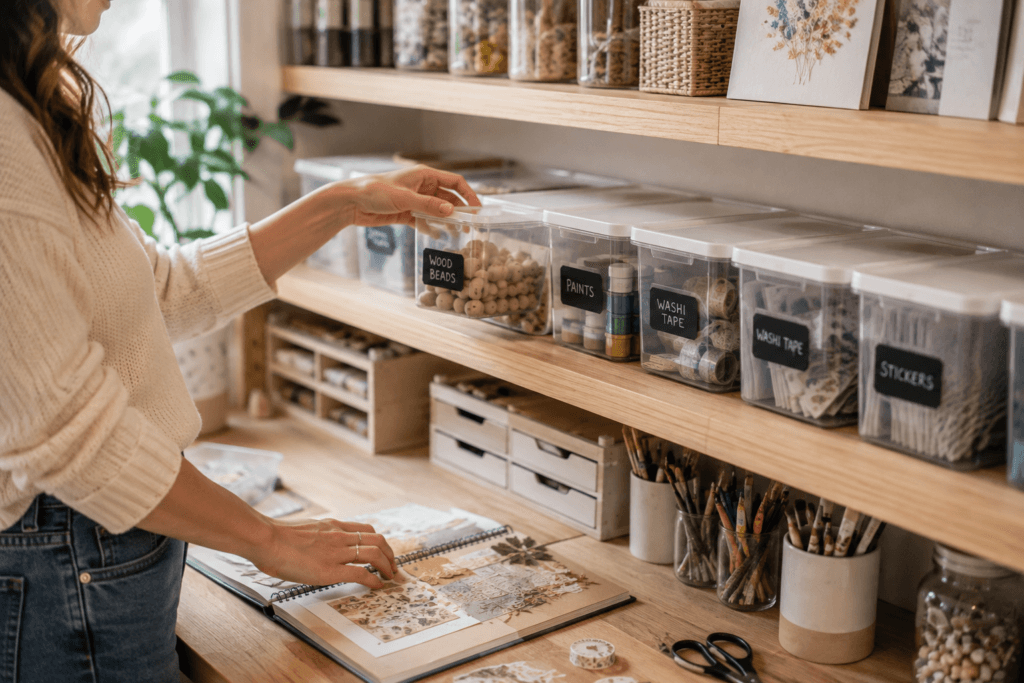
Put your most-used shelves between 30 and 55 inches from the floor, where you can reach them without bending or stretching. Keep current projects, daily tools, and supplies you grab often here. Everything else can go higher or lower, since you won’t need it as much.
2. Pegboard With Adjustable Hooks
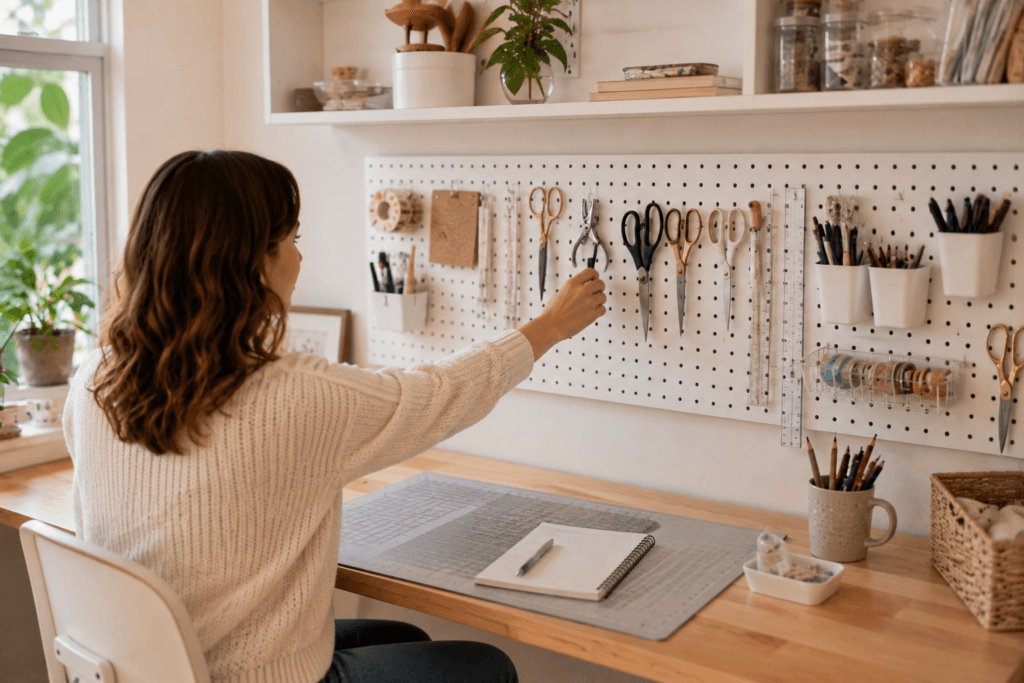
Mount pegboard at eye level, whether you’re sitting or standing, so you can move tools around as your projects change. Hang scissors, rulers, and small tools where you can reach them easily, without twisting your shoulder. Keep the board close to your work area, since pegboard isn’t helpful if you have to get up to use it.
3. Shallow Shelves for Small Parts
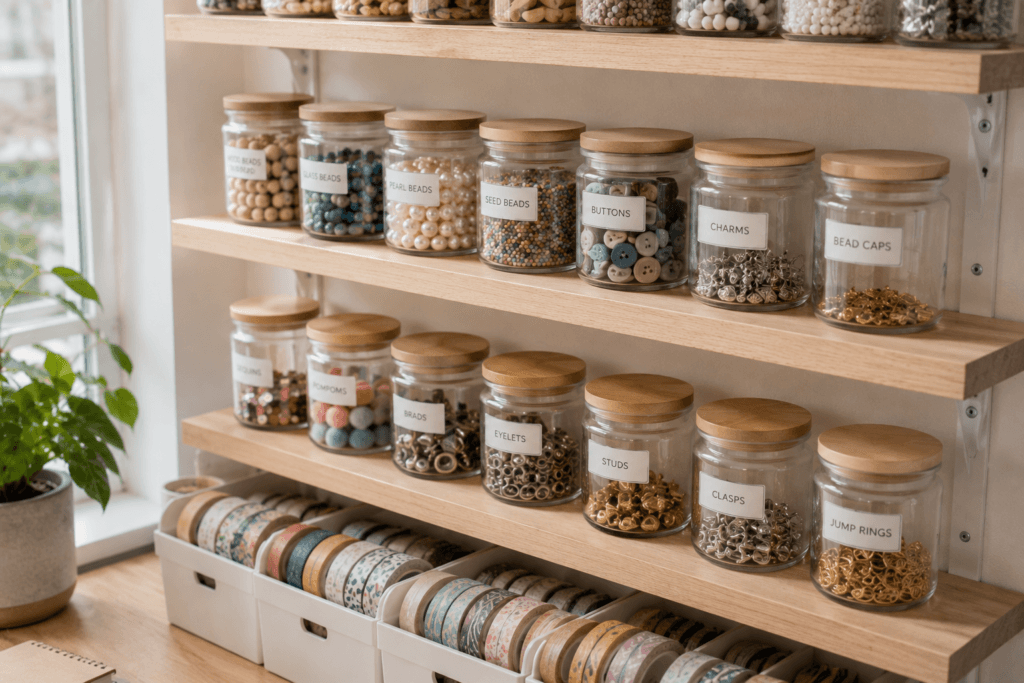
For beads, buttons, washi tape, and other small items, use shelves that are just 8-10 inches deep. Shallow shelves help you stay organised because nothing gets hidden behind other things, and you won’t have to lean or squint to find what you need.
4. Rolling Cart Instead of a Fixed High Shelf
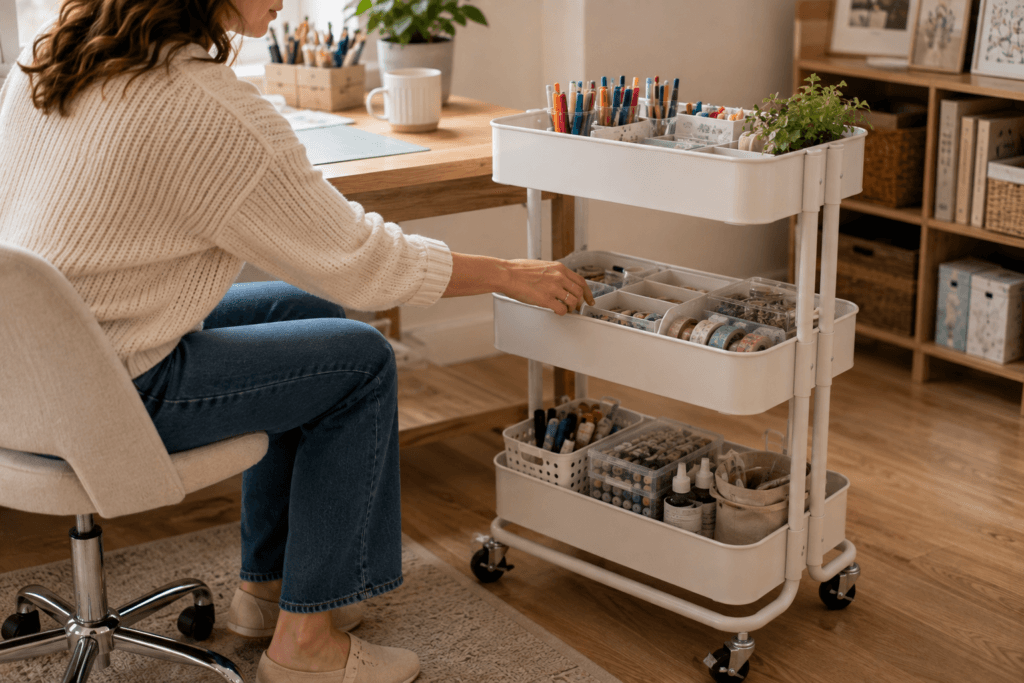
If you don’t have much wall space, a rolling cart with three or four tiers keeps supplies at a comfortable height and lets you bring storage right to your work area. This helps you avoid twisting and reaching for things on high shelves. Be sure to lock the wheels when you’re working so the cart doesn’t move around.
5. Vertical Dividers for Paper and Fabric
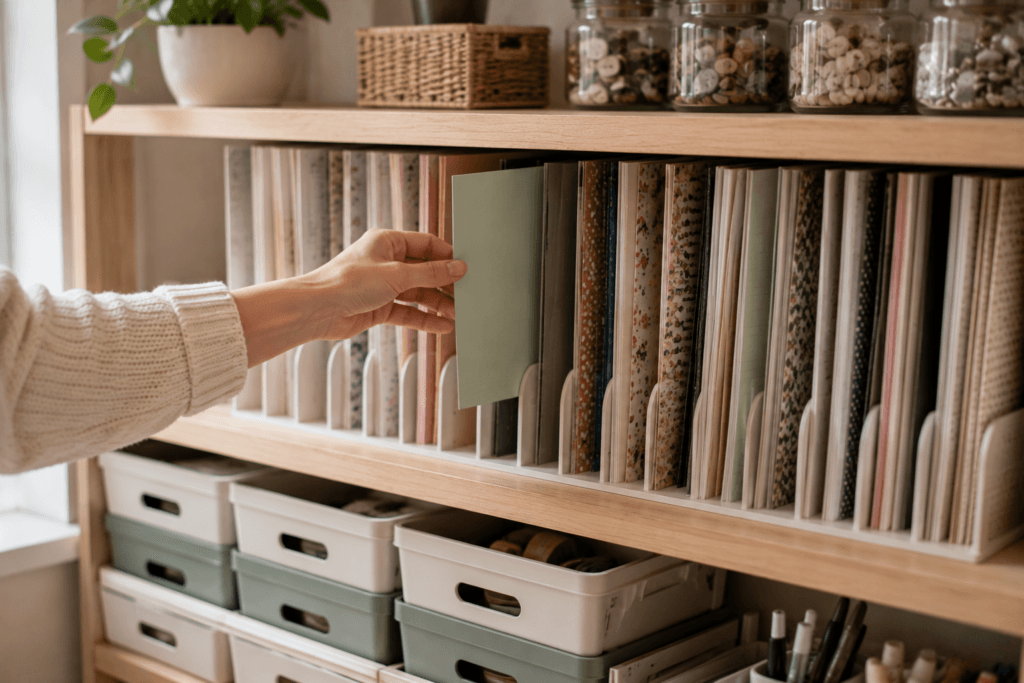
Store paper, cardstock, and fabric bolts upright in slotted dividers instead of stacking them flat. When you stack things flat, you have to lift the whole pile to get one sheet from the middle, which can strain your wrists and back over time. Vertical storage lets you pull out just what you need.
6. Bin Labelling at Eye Level, Not Shelf Level
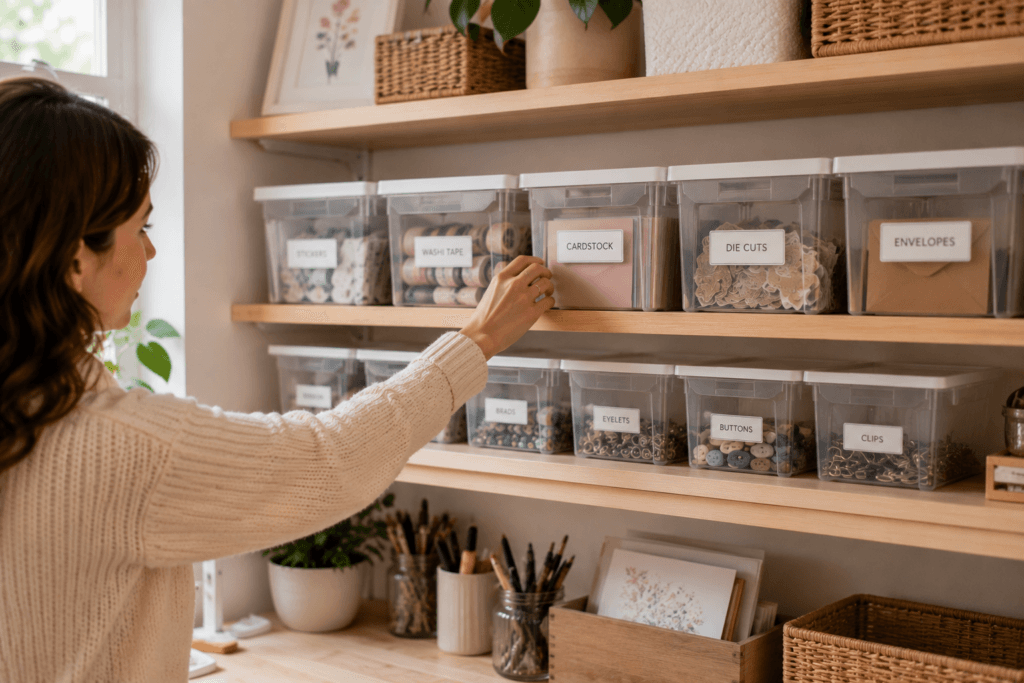
Put labels on the front edge of each shelf or on top of each bin, not on the side facing the wall. This way, you can see what’s inside without tilting your head or pulling bins out. It might seem like a small thing, but it saves you a lot of bending and squinting over time.
7. Overhead Storage Only for Rotated Stock
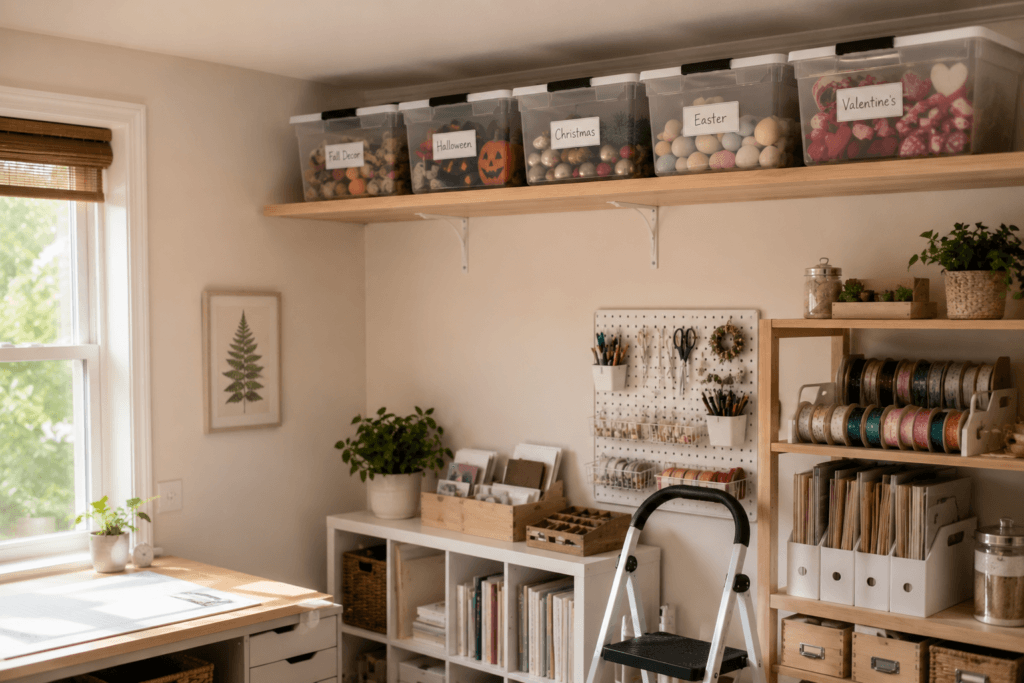
Keep anything above shoulder height for supplies you only need a few times a year, like holiday materials, backup stock, or oversized items. Always use a step stool instead of stretching to reach them. Overhead shelves work well for storage, but not for things you use often.
8. Corner Shelving for Underused Space
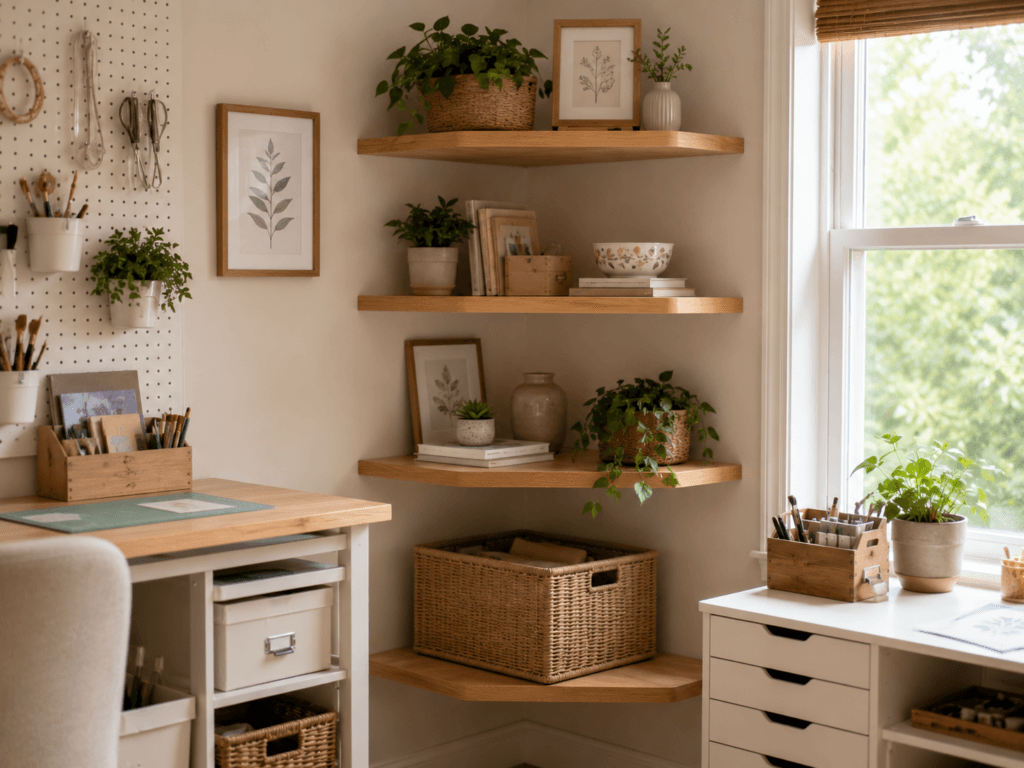
Corner units help you use dead space without narrowing your walkway. Keep the lowest corner shelf above knee height so you’re not crouching to reach it all the time, and use the higher corner shelves for lighter, less-used items since they’re harder to reach.
FAQ
What height should craft room shelves be?
Your most-used shelves should be between 30 and 55 inches from the floor, which is about hip to shoulder height for most adults. This makes it easy to grab supplies without bending, stretching, or straining your shoulder. Use shelves above or below this range for things you don’t need as often.
How deep should craft shelves be?
For small supplies like beads, thread, and jars, shelves that are 8-10 inches deep work best. Use deeper shelves, like 12-16 inches, for bins or fabric, since anything deeper can make things get lost or pushed to the back.
Is pegboard better than shelving for a craft room?
Pegboard is great for tools you use all the time and want to keep visible and easy to reach. Shelves are better for bins, paper, and bigger supplies. Most craft rooms work best with both: pegboard at eye level for tools and shelves above and below for storage.
Can I use floating shelves for heavy craft supplies?
Only use floating shelves for heavy craft supplies if they’re rated for that weight. Check the weight limit before installing, especially for resin, paint, or glass jars, since these are heavier than they seem. Regular floating shelves often can’t handle the load and may sag or come loose over time.
Final Thought
Good craft room shelving isn’t about how it looks in photos. It’s about keeping things within easy reach so you don’t strain your body. Keep your daily-use zone between hip and shoulder height, and save the high shelves for things you rarely need. The main rule is simple: place what you use most where you can reach it easily, and keep the rest higher or lower. For more room-by-room fixes like this, check out the other functional-design guides on Ergontag.