
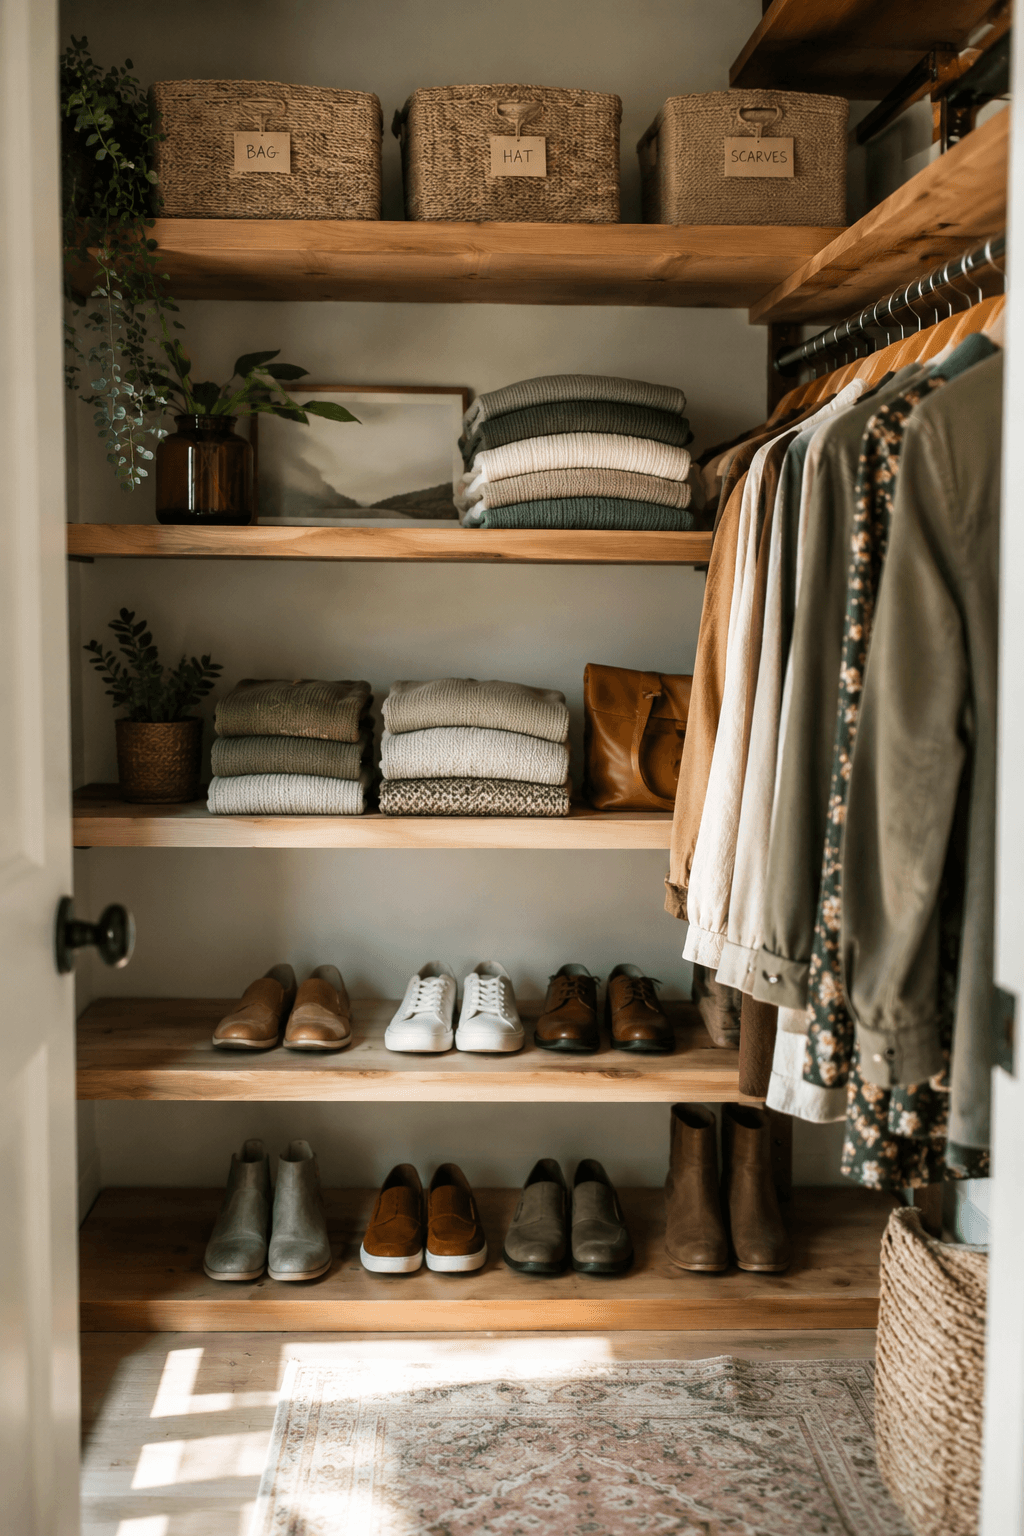
Most do-it-yourself closet shelf instructions jump straight to wood and screws, but they often overlook the most important step: measuring the distance between shelves. Many people guess and build three evenly spaced shelves because that looks neat in photos. Then they end up fitting sweaters into an 8-inch gap and wasting 20 inches of space above.
A closet is not like a bookshelf because it holds items of different heights, such as shoes, folded shirts, bins, and coats. Evenly spaced shelves don’t work here. This article shows what to check before you start building, gives a step-by-step guide, and answers common questions people have before they begin.
If you’ve ever put up shelves that looked all right at first but stopped working well after a month, this guide may help.
What to Check Before You Start
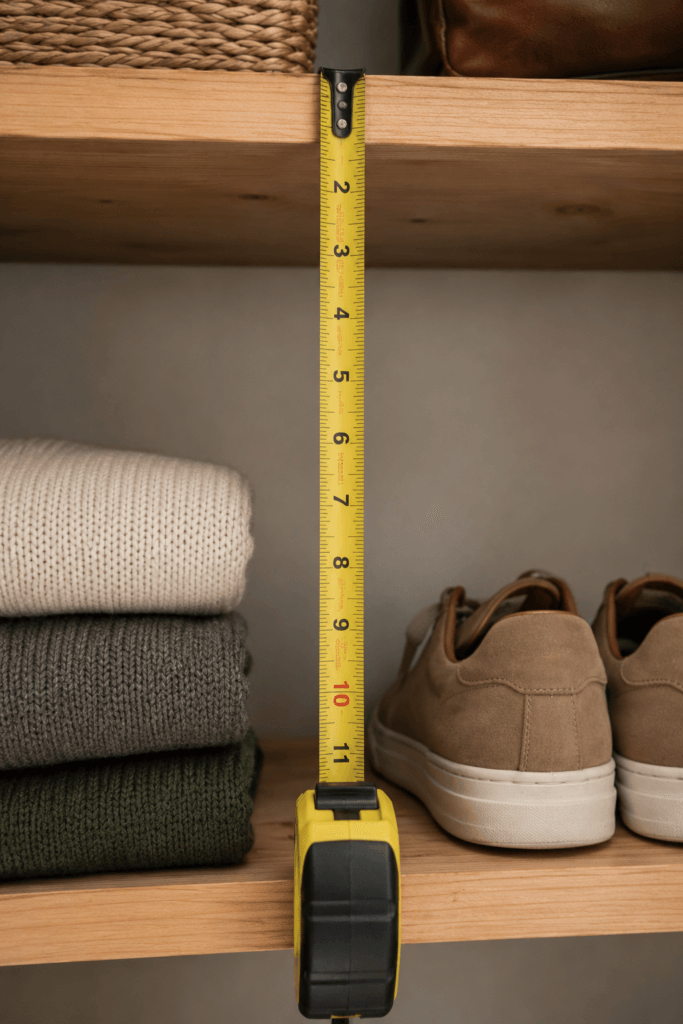
Before you start cutting, think about what should go on each shelf and plan the spacing around the items you have, not the other way around. Many DIY shelves turn out inadequate because people default to 12-inch gaps since it’s convenient, not because the items actually require that much space.
Here’s the functional breakdown most decor posts skip entirely:
Each shelf must provide folded clothes with 10 to 12 inches of space; stacks taller than that become unstable and hard to reach without risking a topple—so you pull from the middle, which knocks over everything above.
Shoes should have about 7 to 8 inches of space, and boots require 12 to 14 inches. If you provide shoes with the same 12-inch gap you use for sweaters, you will waste 4 or 5 inches of space on each shelf. In a typical 84-inch closet, that could mean losing an entire extra shelf.
Instead of estimating, measure your storage bins before you start building; most 12-quart bins are roughly 10 inches high, but check yours. Include an extra 1.5 inches of space so you can lift the bin out easily without knocking into the shelf above.
Shelf height matters as much as the lower shelf; anything more than 70 inches from the floor will require stretching for most adults and shouldn’t be used for items you need every day. For the upper shelf, set it at a height where you can look into it without a step stool—typically no more than 78 to 82 inches—and use the space above that for storage bins you access only seasonally.
You may not realize how important shelf depth is. When a shelf is deeper than 16 inches, the clothes tend to end up in the back and are then easy to forget. 12 to 14 inches is the best depth for most closets because it is deep enough to hold folded clothes or bins without making items disappear.
As long as you get the five measurements right before you start cutting, your shelves will meet your needs, not just look good in pictures.
Building Your DIY Closet Shelves: A Step-by-Step Guide
1. Accurately measure the cavity in the closet.
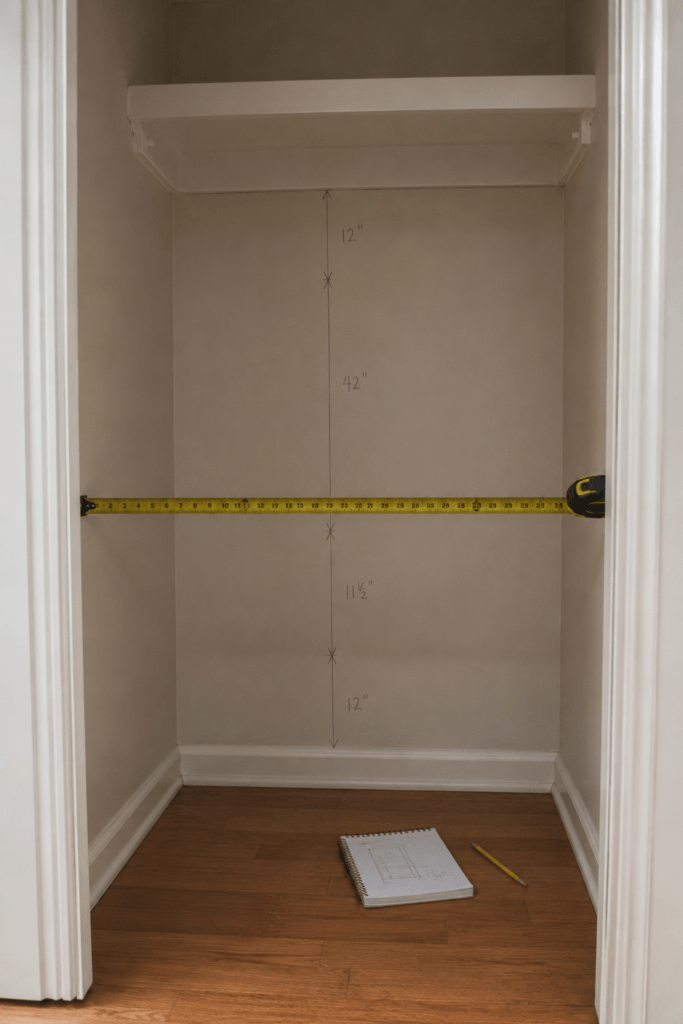
Measure the width, depth, and height at three places each—top, middle, and bottom—since most closets aren’t perfectly square. When cutting the shelves, use the smallest width measurement so everything fits without forcing it. Note any obstacles, such as light fixtures, outlets, or HVAC vents, before you decide on the final shelf positions.
2. Plan out the different areas of your bookshelf according to function rather than according to atmosphere.
Based on the measurements, sketch your closet from floor to ceiling and work out where everything should go—shoes at the bottom, folded clothes in the middle, and bins up high. Before you begin cutting, record the shelf heights on your sketch; this planning stage ensures your shelves function well, not just that they look neat when you first finish.
3. Choose Your Material
For strong shelves, use three-quarters-inch plywood, since it will not sag when carrying folded clothes or bins over a 24- to 30-inch span. Although melamine-coated particleboard is cheaper and looks good, it will sag if the shelf is wider than 24 inches unless you add a central support. For shelves wider than 30 inches, always use a central cleat or bracket, regardless of the material you choose.
4. Fit the Ledger Strips or Cleats
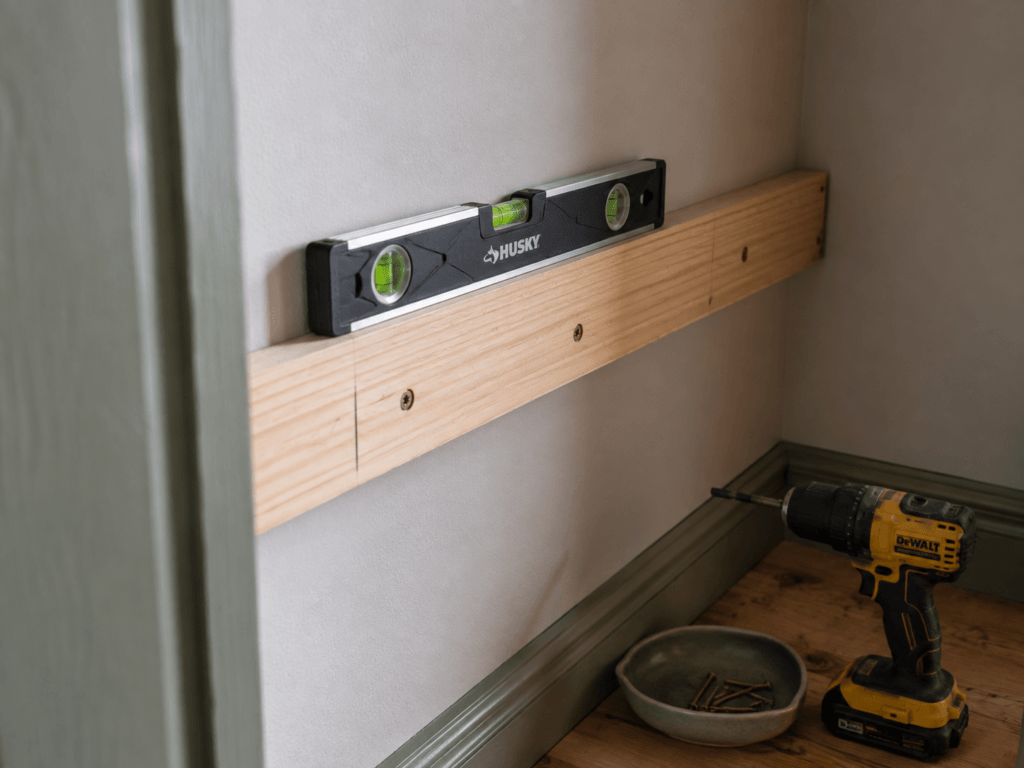
Along each shelf line, fasten a 1×3 ledger strip to both the back and side walls, screwing into studs whenever you can—don’t rely on drywall anchors alone. The ledger strip carries the load; the shelf board rests on top of it. A level should be used on each of the strips, not just the first one, because walls are seldom perfectly vertical over a distance of 84 inches.
5. Cut the shelf boards and fit them in place.
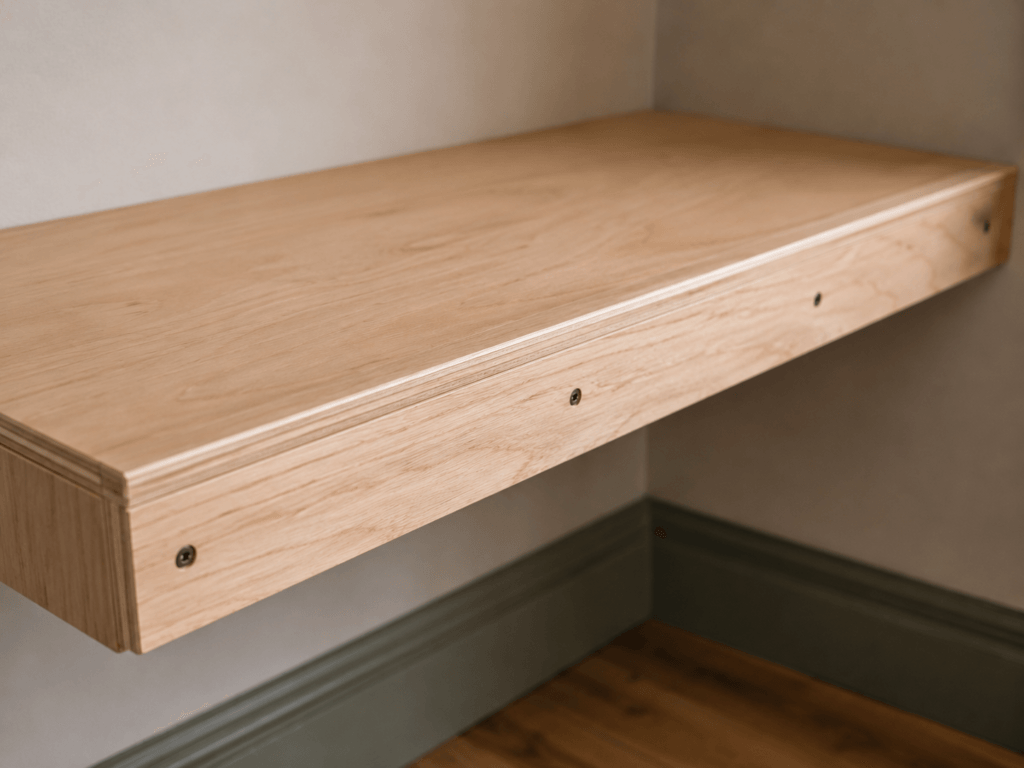
Reduce the width of your boards to the minimum width that you measured in Step 1, allowing for about ⅛ inch clearance. Place each board on its ledger strips and fasten it with a few screws from below so no screws are visible from above.
6. Include front support for large spans
When the shelf is wider than 30 inches, add a front lip or a centre bracket, not just supports at the back and sides, or it will begin to sag after a few months. Gluing and screwing a standard 1×2 trim to the front edge will strengthen the shelf without making it look bulky.
7. Plan the sanding, finishing, and loading process strategically
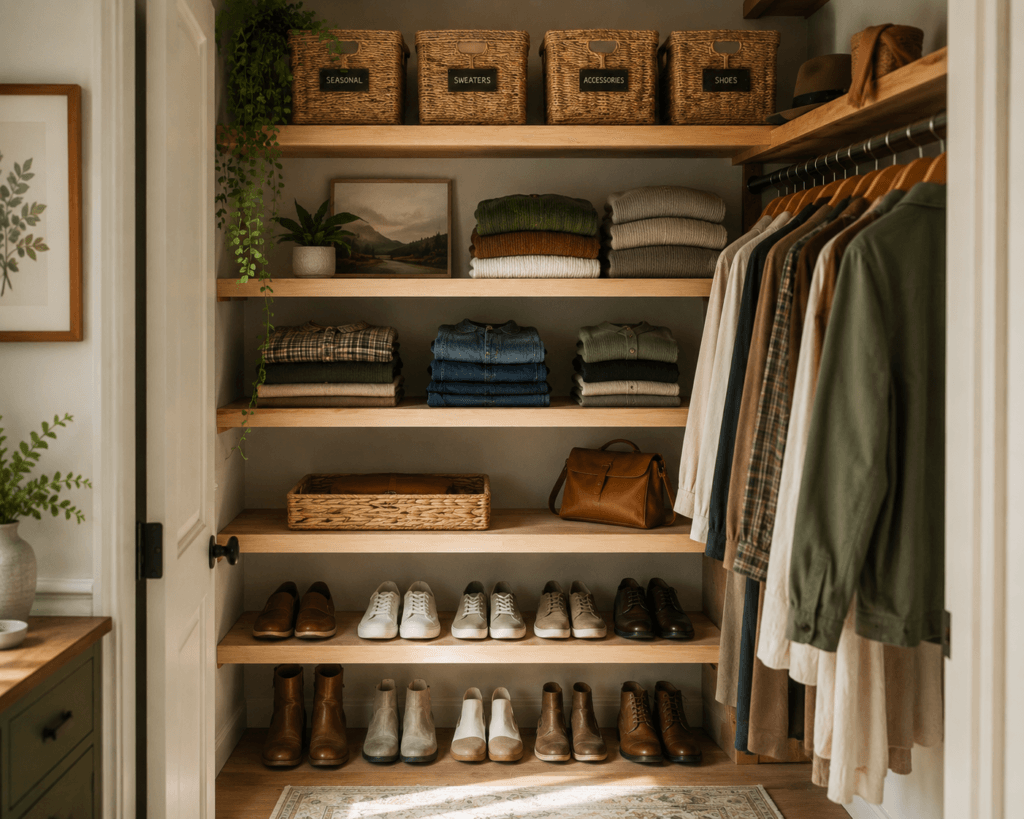
Sand the edges smooth, then paint or seal the shelves to match your room if you often leave the closet door open. Put the heaviest items on the lowest shelves first. How far apart should closet shelves be spaced? To keep the closet from feeling top-heavy when you’re looking for things.
FAQ
How far apart should closet shelves be spaced?
Shelf spacing depends on what you store: use 10 to 12 inches for folded clothes, 7 to 8 inches for shoes, and adjust for your bin height plus 1.5 inches of clearance. Don’t use the same spacing everywhere. Mixing shelf heights based on your items will give you the most usable space.
What’s the best wood for DIY closet shelves?
¾-inch plywood is the best choice because it won’t sag over a 24- to 30-inch span without extra support. Melamine particleboard is fine for lighter loads or shorter shelves, but you’ll need a center support if the shelf is longer than 24 inches.
How deep ought a shelf in a closet to be?
A depth of 12 to 14 inches works well for most storage. If a shelf is deeper than 16 inches, things often get pushed to the back and forgotten.
Do I need studs to install closet shelves, or can I use anchors alone?
It’s best to screw ledger strips into wall studs when they need to hold real weight. Anchors alone can pull out of drywall if the shelf is loaded. If you can’t find a stud, use heavy-duty toggle anchors rated for at least 50 pounds, not regular plastic anchors.
Closing
If you plan your shelf spacing around what you actually own, your DIY closet shelves will last, and you won’t have to redo them next year. For more ideas on fixing up other useful but overlooked spots in your bedroom, check out more tips on Ergontag.